
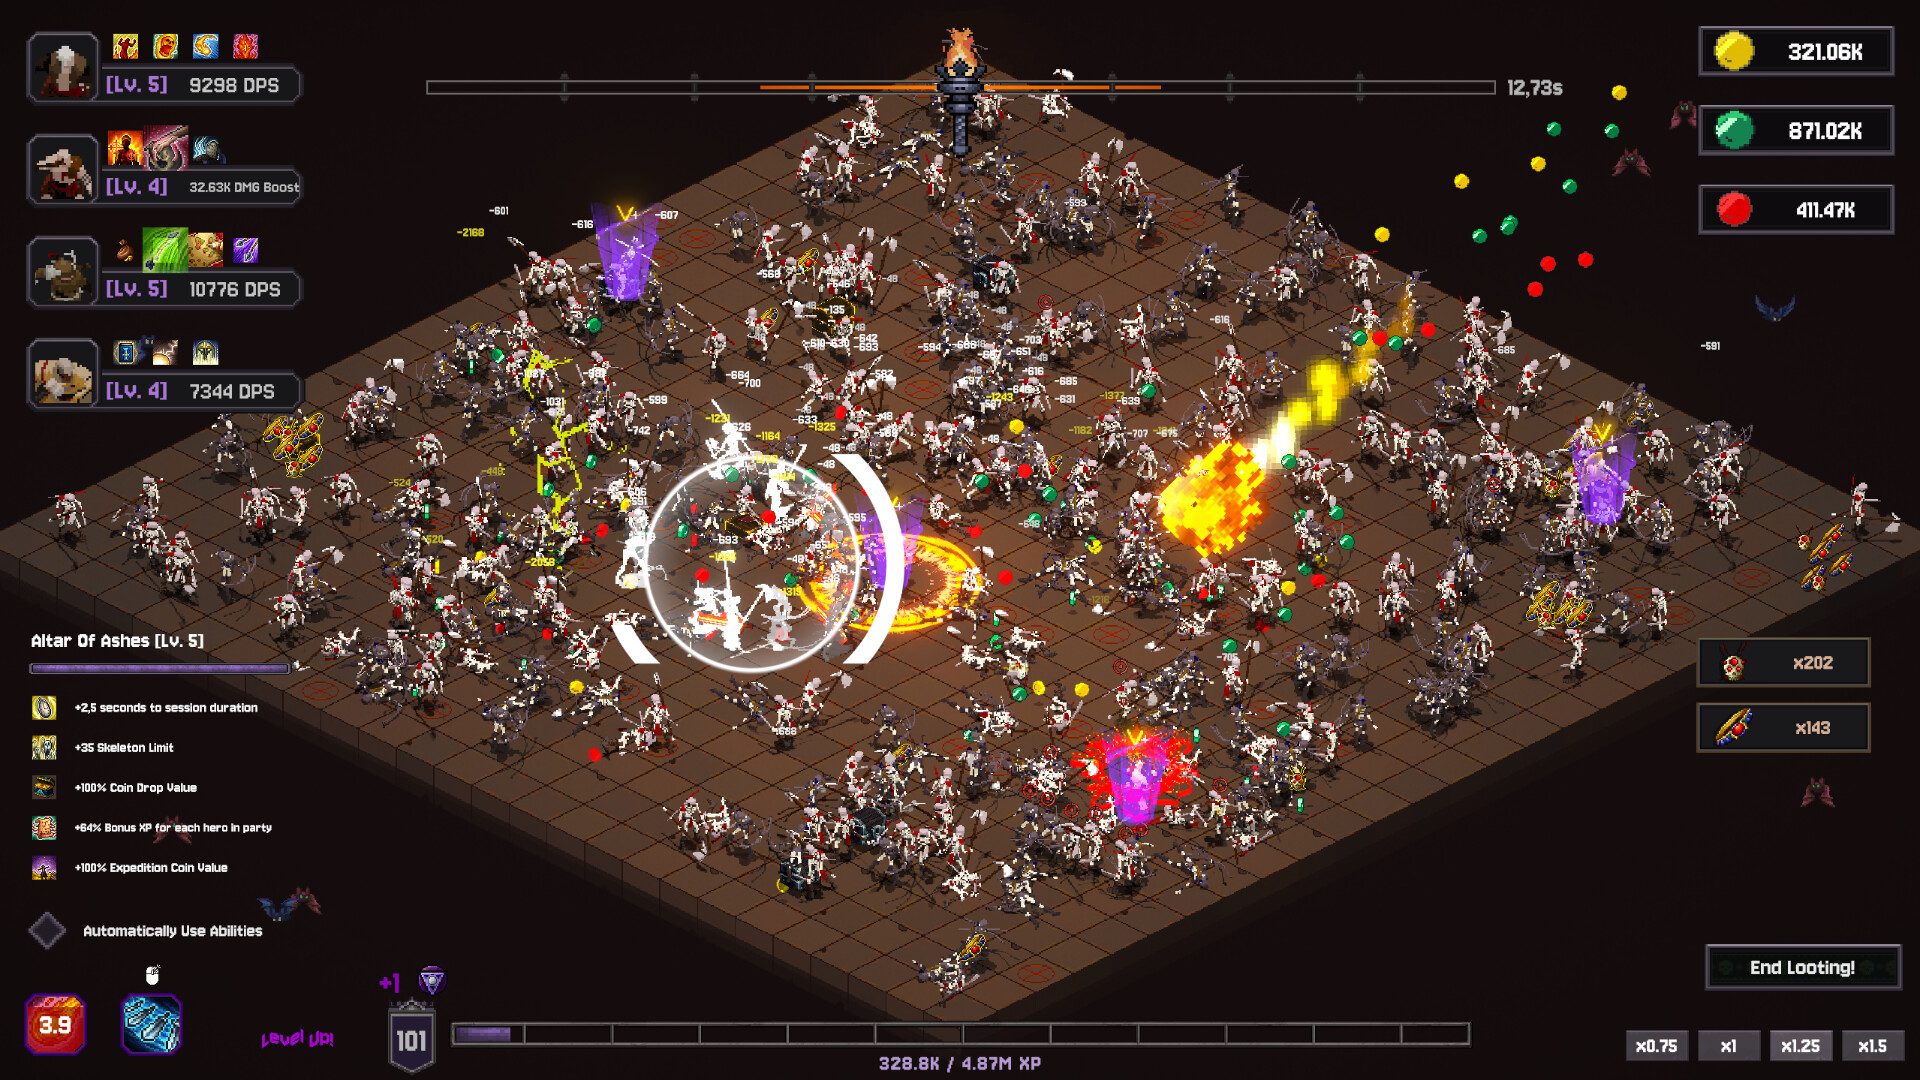
Recommended farming loop
A strong farming loop is goal-driven:- Pick the next meaningful purchase: room, hero, weapon or major multiplier.
- Identify which currency/material it actually requires.
- Choose the room with the best relevant coin/drop mix.
- Improve coin value and spawn density until the room stays busy.
- Stop buying unrelated nodes while saving for the target.
- Use surplus inventory sales only after protecting the next craft.
- Put an unused hero on an Expedition for background support.
This is faster than mindlessly playing the newest room because the game deliberately keeps several currencies alive.
Why it works
In a developer reply to early feedback, the creator explained that each coin type is intended to remain useful for the whole game. Different dungeon rooms create reasons to revisit earlier currencies. That makes the optimal farming room contextual.Increase income per second, not just income per kill
Coin value is obvious, but farming speed also depends on:
- how quickly enemies spawn;
- how many skeletons can exist in the room;
- whether your attack area reaches clusters efficiently;
- whether heroes remove stragglers;
- whether session time is long enough to exploit the spawn engine;
- whether item/chest drops are actually being collected.
A 20% coin increase can lose to a large spawn-density upgrade if the room was empty for half the session.
Chests and items
Chest chance and item drops become more valuable later because they can translate into both crafting progress and sale currency. Treat them as part of farming throughput, not optional collectibles.
Common mistakes
Saving for a high-tier purchase in the wrong room. Check the coin distribution before committing dozens of sessions.Adding time to an empty room. More duration only pays if spawn generation can fill it.
Selling a required material. Short-term money can create a longer weapon delay.
Ignoring Expeditions. They are not a replacement for active farming, but they are free background value when assigned correctly.